XS650 Restoration Step By Step!
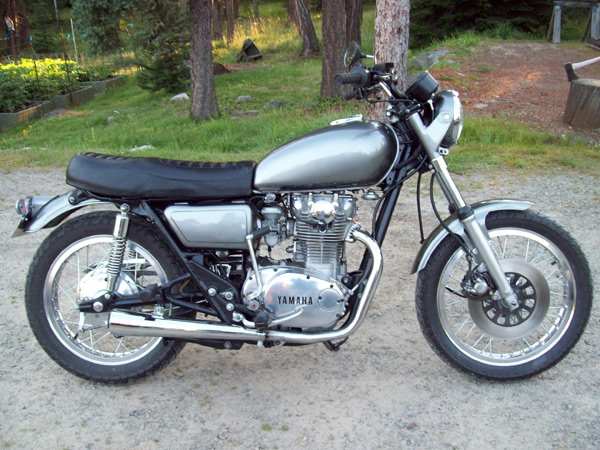
I did most of the work on this xs650 restoration project last winter.
I got it on the road around the end of July and put 3000 miles on it before this winter.
I’ll probably never sell this bike, so I tried to build a new bike, even though parts are mixed from different years.
It’s not a chopper, but here’s the story.
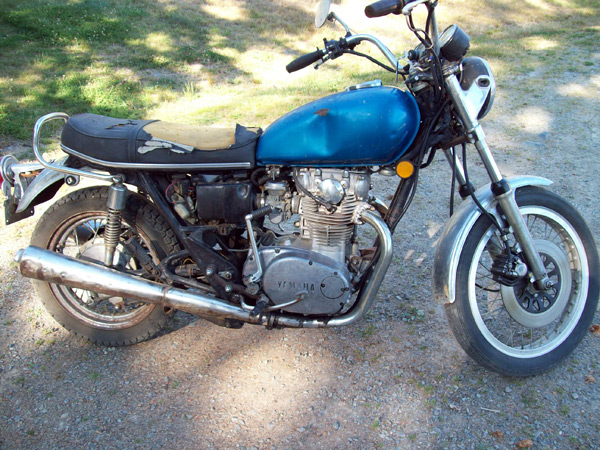
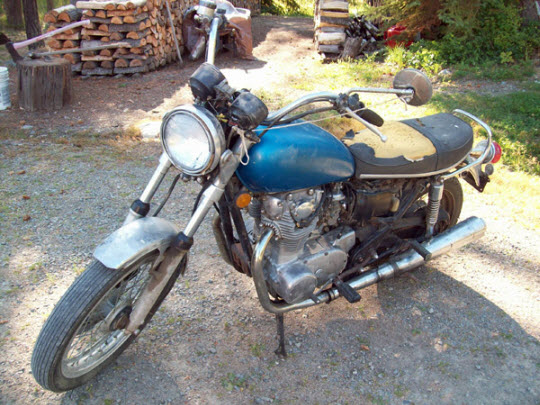
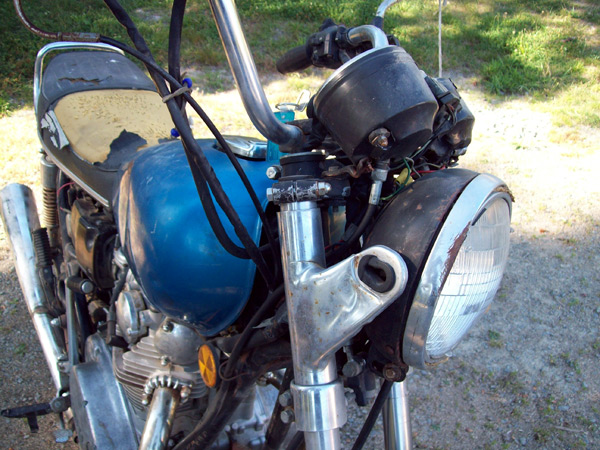
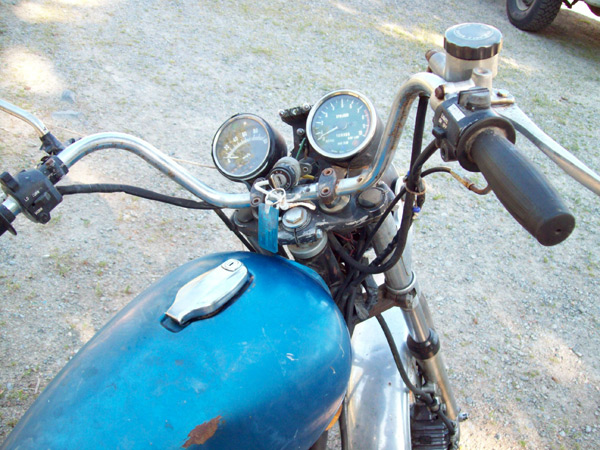
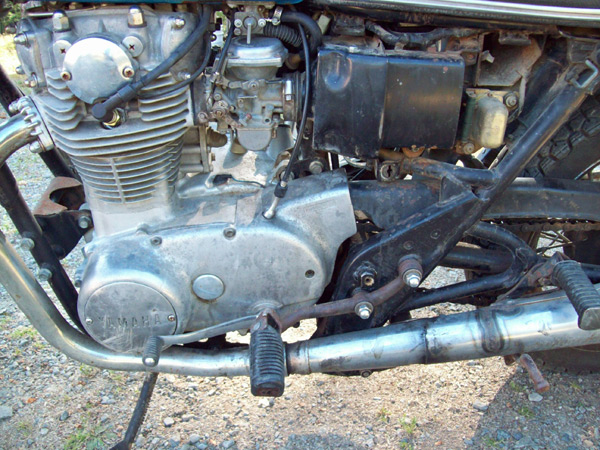
I found this 1977 XS650 leaning up against a barn. It had
obviously been crashed several times, cobbled back together, then sat for 12
years pretty much exposed to the weather. While it was about 95% complete,
everything was broken, dented, or rusted.
I got it running good enough to ride up and down the road a couple of times. The clutch worked, transmission felt solid, no loud banging or bad vibes from the motor.
So the xs650 restoration project started with stripping it down to the frame.
The Chassis:
I sand blasted the frame and all the black painted parts, did a little straightening, removed some broken bolts, primed with a self-etching primer, then rattle canned a couple of coats of PlastiKote satin black.
Then, I put back together the tapered roller bearing in the head and brass bushings in the swing arm.
Wheels and Front End:
Who ever had the bike must have replaced the rear wheel after one of the crashes, and it wasn’t Yamaha. I found a used hub and a stock 18” high-shouldered rim, cleaned them up by hand with 220, 320, 400, 600, and Mother’s aluminum polish, then laced up the rim with new spokes.
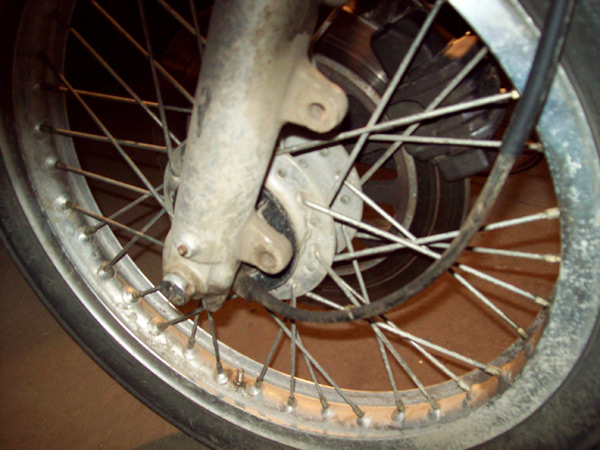
The front rim was pretty corroded from sitting for so long.
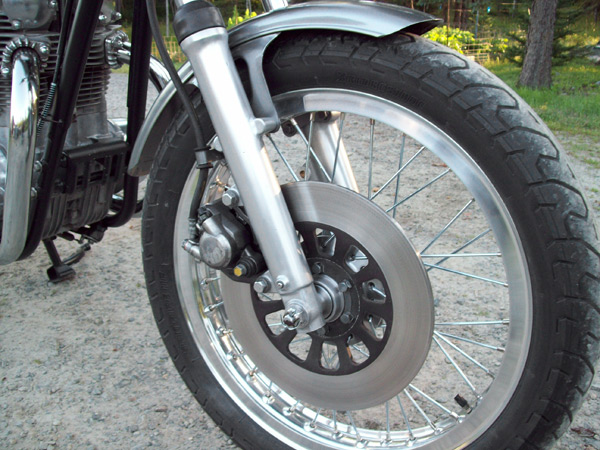
I took that apart, sanded and polished the rim and hub, then laced up new
spokes. When they were done, both wheels trued up (side to side and out of
round) to less than a 32nd of an inch. Pretty good for 35 year old
rims. I put on Spitfire II’s, 100/90 on the front and 110/90 on the back.
Fenders:
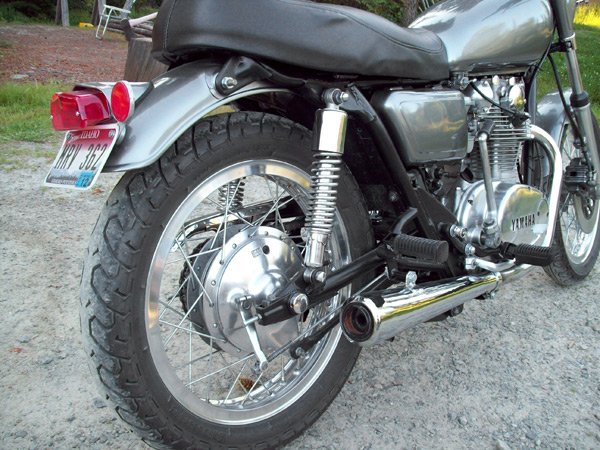
Although the front fender was pretty twisted up, I figured I’d try to fix it instead of buying a new one. The front had already been chopped off, I just rounded that off a little nicer.
I cut the back up 1”
longer (from center) than the front. The metal was pretty flimsy without the
bent edging, so to stiffen it up I cut ¾ “ strips from the back trimming. I
tweaked them till they fit, cleaned everything up and soldered the pieces in a
little back from the edge.
I found a used rear fender from a later model and the guy
through in a Brit style taillight. I soldered up the stock tail light boltholes
and added a support for the top bolthole.
I sandblasted both fenders, filled the dings, and primed with etching primer.
Here's another look at the original bike before I began my xs650 restoration:
Gas Tank:
I started off by stripping the tank with aircraft paint remover. Along with several small dents, it had one big creased dent on the side that I couldn’t punch out through the filler hole.
I rinsed the tank out with soapy water, made a little slide hammer, drilled a 3/8th hole about 2/3rds up, and pulled out the dent. To fill the hole, I cut a thin slice of 3/8th round stock, tacked a welding rod to the center so I could hold it in place, welded it up, then filled the tank with water for a day just to make sure it didn’t leak.
After filling the dents and priming, I did the Kreem tank treatment. The stuff looks pretty good, but it was a mess. I stripped the side covers, fixed the dents, and got them ready for paint.
Paint:
The paint is a base coat/ clear coat. I had built some stands out of ½ inch round to hold the tank and fenders, gave everything a light sanding, and shot the sealer, metallic base coat, and clear coat.
The paint
actually goes from a dark gray to silver depending on the angle. So far it’s
held up well, even on the inside of the fenders.
Engine:
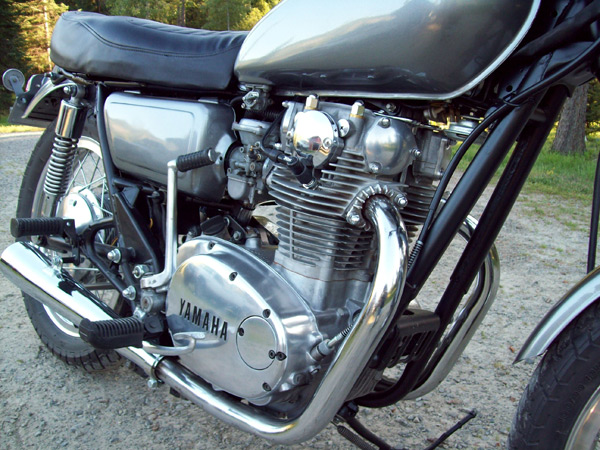
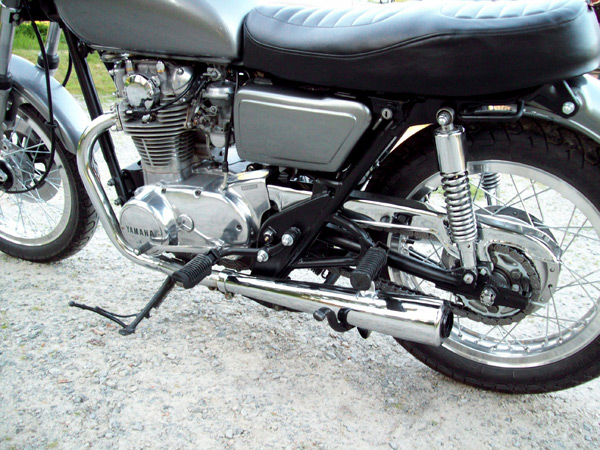
I took the head and cylinder to a local cycle shop. Four new valves in the head and 2nd over bore on the cylinders. The small end of the con rods were wore out of spec, so the crank was shipped off to Michael at 650Central.
I finished pulling the transmission to make it easier to clean the case halves. The motor went back together with all new seals, gaskets, cam chain and cam chain guides.
Exhaust:
For this xs650 restoration project I used Blew Job to clean the yellowed head pipes. It’s not wipe on wipe off, but with some rubbing it works pretty good. The stock 77 head pipes end a few inches behind the mounting bolt.
From what I’ve read, the length of the head pipe affects the usable horsepower range, so I welded on about 6 “ of muffler pipe.
That made the length similar to later model head pipes. I had bought the short megaphone mufflers years ago. They seemed a little too restrictive, so I opened up an internal baffle and replaced a ¾ inch out pipe with 1 ½”. They sound good, not too loud until I hit about 4500 RPM.
XS650 Restoration Electrical and Miscellaneous:
- The 77 had several unnecessary electrical components, mainly dealing with lighting. I left those off and pulled the wires from the harness.
- I cleaned the carbs with a mild acid I got at a welding supply store. Supposedly it’s used to prep aluminum for welding. Worked ok, probably something better out there. Installed carb kits and barbs for vacuum gauges. Still messing with the jets.
- I disassembled the front forks, polished the lowers, and went back together with new seals, dust boots, and progressive springs.
- The front brake caliper was frozen, so that was rebuilt with a new piston and seal.
- I replaced almost all the rubber and all the cables.
- I removed the rust on the chrome nuts and bolts with Naval
Jelly, neutralized with a mix of baking soda and water, polished and waxed with
carnauba wax. It’s only been 8 months or so, but they haven’t rusted up again.
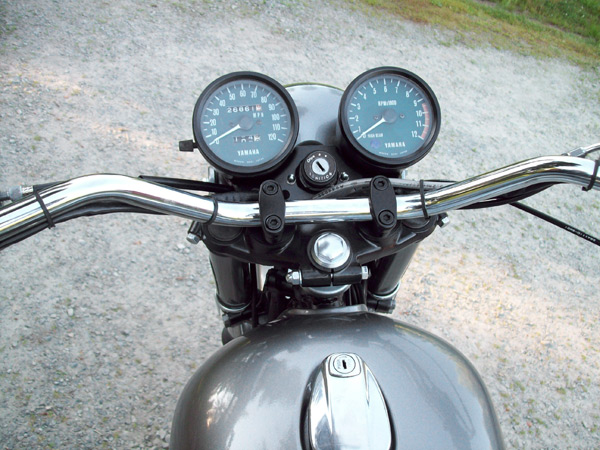
Till I was finished with this xs650 restoration, I literally had every nut and bolt off this bike. I tried to fix as much as possible or find stuff I needed used. About the only new parts other than rebuild kits, cables and rubber are tracker handle bars, ignition parts, front brake master cylinder, chain, sprockets, a chrome chain guard, and a Saddleman seat cover.
This winter I put on new rear shocks and a halogen replacement kit in the headlight. I’ve got about six weeks till the ice and snow are off the road, looking forward to it.
Restored XS650 Engine:
Side View:
Restored Exhaust:
Front Wheel Restoration:
New Speedometer and Restored Handlebars:
Complete xs650 Restoration:
The XS650 motorcycle restoration project was done by Steve Bleile, an ASME certified welder certified welder. He is the author and publisher of 5 excellent welding DVD's that are used by major institutions and thousands of professionall and novice metalworkers. You can see his DVD's here (scroll down the page halfway). They are highly Recommended.
Recommended Book:
XS650 Resources:
http://www.650central.com/ Michael used to build and race XS650s. It’s nice to deal with an expert. Some good resource material on his website.
http://www.mikesxs.net/ Replacement parts for XS650 restoration. Easy to order online, some parts are really good, some so so.
http://www.yamaha-motor.com/partviewer/default.aspx?ls=sport Yamaha’s parts catalog. Let’s you see what is still available OEM and the price.
XS650 Articles:
