Starter Installation, Jack Shaft Installation, and Oil Tank Mount:
Before we put on our starter, I want to show you basically how it works. The way the starter operates is once power is delivered to it from the switch, the starter shaft or the jackshaft will kick out and start spinning. And the kit I have installed, the actual jackshaft assembly, is installed first and then the starter is put in.
We've got a spacer, a spring, the jack shaft gear itself, and the end cap with a bolt going through it to lock it all in.
Starter Installation:
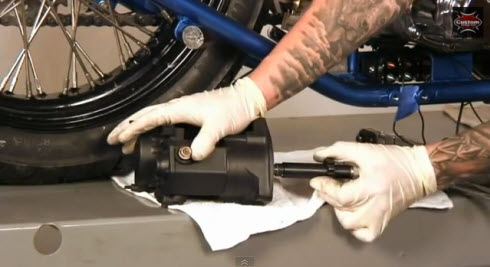
I'll take the starter and I'm going to put a drop of red lock tight on the mounting bolts. We'll sit the starter into its spot on the transmission. I'll sit our mounting bolts in there and I'll thread them in.
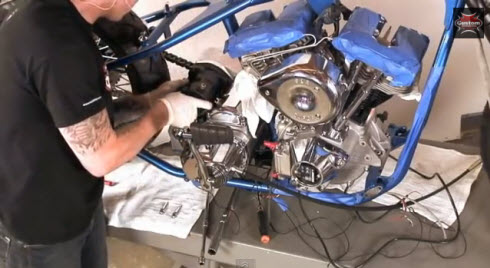
Jackshaft Installation:
With the started installed we can go ahead and torque it.
Now we'll go ahead to the other side and put on our end cover.
Next up, we'll install our support for the starter jackshaft.
It has a bushing that the jackshaft will push itself into as it's starting the motorcycle. So before I install it, again, I'll put a little bit of grease on that bushing. It's not going to be coming in contact with open air.
The tip of the jackshaft will be sitting in it at all times. I will mount that and then I am also going to use this bracket for our license plate frame. Put a couple drops of blue lock tight on our mounting bolts, and we'll spin these guys into place. We'll go ahead and torque these down.
Oil Tank Mount:
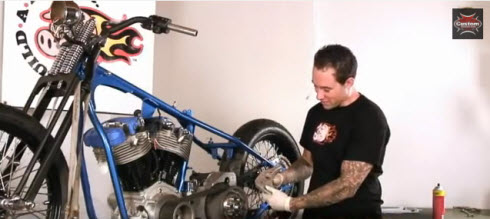
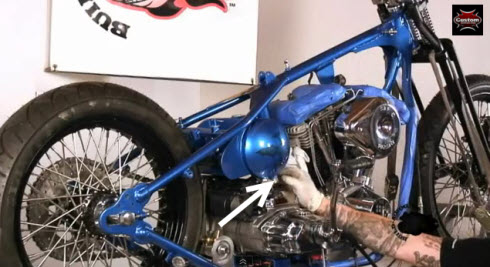
To mount up our oil tank, what we're going to do is set up our front mount and then our rear mounts which that are set up to the frame. This oil thank is rubber mounted, front and rear.
So from here I'm just going to set those in place and we will torque them down once they're all mounted in. You just want to be very careful when you're installing the oil tank, not to scratch it.
If you remember in our mockup stage, we routed our oil lines in chapter 4. Here, I just inserted our fittings and I'm going to finish up with these outlet sittings for our 3/8 oil lines. And we're going to set up these oil lines just like in our mockup stage.
Oil Line Fittings:
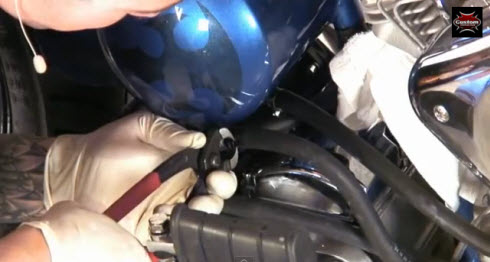
Now that we have all of our oil lines set up the way we want them and the way we set them up in mockup originally, we can go ahead and clamp them down. You can use a worm type clamp. I like using compression fittings just because they look that much more professional. And the way these work is you just slide them on, you get your special crimping tool, and give them a squeeze, and that locks them into place.
Oil Filter Installation:
Before we install our oil filter, we'll want to take some motor oil and fill the filter just to get rid of any void of air in the oiling system. So I'll just kind of fill it until the pleats stop absorbing the oil, where it looks like it's sitting up top. That should be good about there. And then take my finger and just run a little bit of the oil around this rubber quad seal up top.
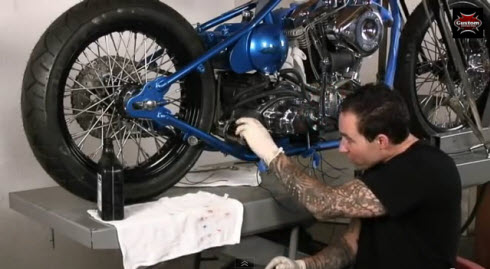
That will stop it from sticking when I'm spinning it on. Set our oil
filter on, spin it on, and a good rule of thumb is once it makes
contact, you want to make it about one complete turn after that to get
it to fully seat. Just like that.
Copyright Custom-Choppers-Guide.com All Rights Reserved.
