Install Rear Wheel and Oil Tank.
To watch how to install the rear wheel and information on how to get your oil tank set up for installation Press Play in the middle of the screen or the lower left corner...
Prior to installing our rear wheel, I liked to get all of my spacers set up in the correct order. That way it's as easy as possible while I'm doing all these things at once to get it put in On this specific frame, we have a spacer that mounts in first, which is kind of nice because it's one less thing to take out of the equation while I'm juggling everything around to make everything fit.
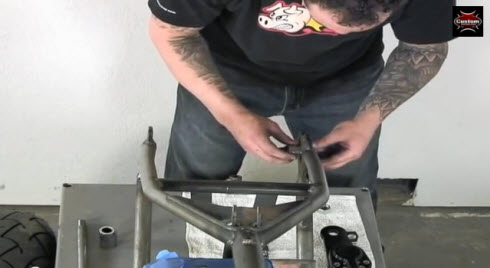
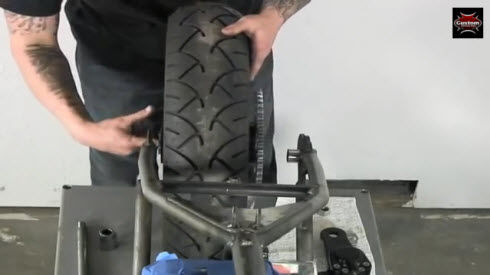
So I'll loosely put that into place so I can slide it back and forth, then I'll grab our rear wheel. Kind of walk it into place. And as you can see, I lowered the frame just a little bit so we have a direct shot at the axle.
Rear Caliper:
Now I'll grab our rear caliper, and I'm going to split the brake pads and put it over the disc just to mount that in place. There's a washer or a spacer that we put in between the hub of the wheel and the caliper. Get that set nice and tight.
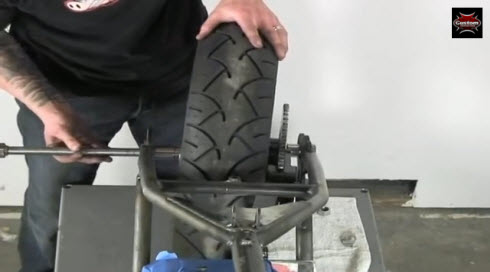
Then we can ahead and install our axle. I'm going to put these spacers in, slide the axle through them, and just keep on pushing.
Brake Mount:
Okay, the axle's all the way through. We're
looking good. I'm going to loosely put the axle nut on.
And then
for the brake, we'll need to go ahead and set the brake mount on also
just to get that lined up. So I have a spacer that goes in between the mount and the break.
We have a bolt that slides in between the two. We'll loosely put the locking hardware on the back. All right. That's set. Okay, now we can mount up the caliper and space it. Technically it's already mounted because it goes through the axle, but what I want to do here is put our spacers in to mount it to the frame.
That way it's not moving back and forth while we're moving the bike around. Put the bolt through the space and the caliper, and then I'm just going to put our nut on the back here to lock it in for now. That looks like it's all lined up correctly, so we're good.
Caliper Alignment:
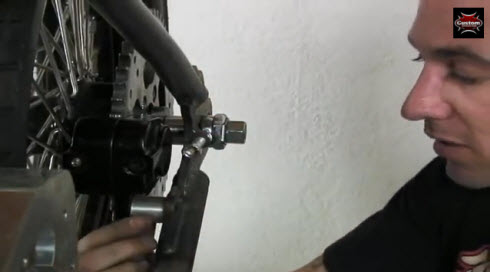
One step that's commonly overlooked for brake calipers is caliper alignment. What I mean by that is: if you look right at this caliper, I mean the distance on either side of the rotor between the caliper body. You want to make sure the are equidistant, meaning they both have the same amount of space on either side.
I can't tell you how many bikes I've seen come into the shop where one side of the caliper is just chewed up from the rotor because it was spaced incorrectly. Some people think that if you can stick the caliper on there, you're good. No, you want to make sure the body is away from the caliper and the rotor.
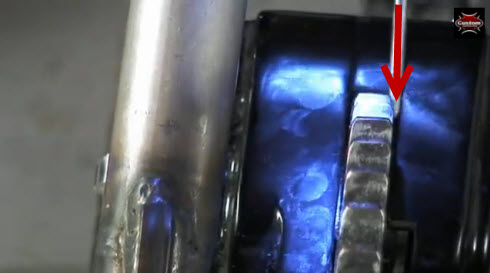
You want to make sure there's a good amount of space. So in this case, we're good. Just what I do as a quick visual check is I'll take our chain, run it over our rear sprocket, and what I'm looking for is just basically the alignment of the front wheel sprocket. This isn't a precise measurement, but I want to make sure we're in the right ballpark.
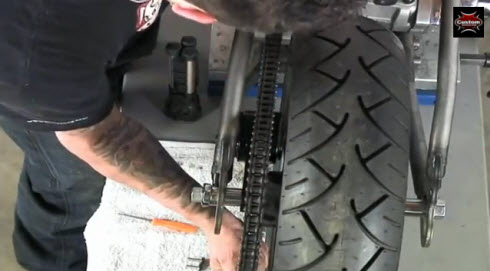
You want to make sure they're pretty close to centered and
aligned from the front to the rear. If not, you might have to put on a
spacer on the rear sprocket or the front to make them aligned correctly.
But in this case, that looks great. So we'll keep moving on from here.
Here
we have our oil tank. What I've done here is I've just loosely
installed two of the oil fittings. I'm going to install a third one so
you can see how they go. You just have the standoff going in and then
the nipple right behind it.
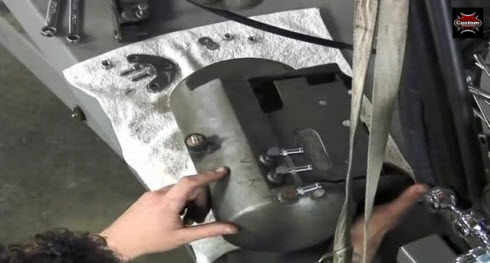
As you can see, there are a couple letters on here, and I just marked them.
V is for 'vent': This is our vent line that's going to go from the engine to the oil tank. If you don't have instructions to tell you which one is which, the vent will typically have a tube going all the way up to the very highest point to the oil tank. That way the oil typically does not go into the vent. You have a return line.
R is for 'return'. The return line usually has a filler or another tube that goes halfway up the tank.
F for 'feed'. The feed is just a direct bung into the tank. There's not going to be any line on the other side of that inside the tank.
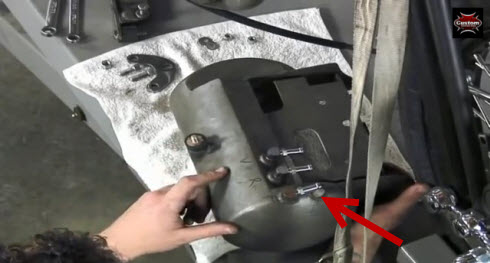
And this guy will be our drain (image above) when we want to do an oil change.
So I install a rubber mount, then flip the tank over, install a rear oil tank mount loosely with the mounting hardware, a couple of washers, a couple of nuts...
You can see the tank is rubber mounted. We have the front rubber mount and these rear rubber isolator mounts. And with those in place, we can see if it fits.
See video number 4 of 6 for more short bobber building tutorials (out-takes) from BYOB.

