Video: Install Front Wheel, Mount Handlebars, and Rear Wheel and Calipers:
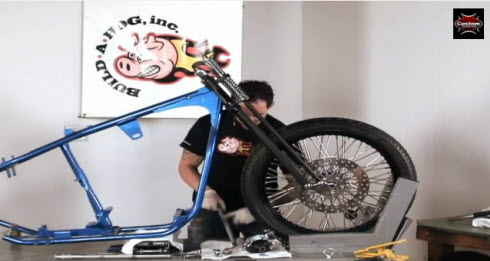
I loosely just set our front wheel in the vice here and put our front end up to it just to align the axle holes.
Next up, we'll take our front axle, and I'm going to give it a light coating of anti-seize just to make sure on disassembly down the road, we don't have any binding problems or any rusting issues.
And I'm using anti-seize because this frontend has sealed wheel bearings.
If you have the old style wheel bearings hat require greasing just like our bearings we just installed, you'll just want to use the wheel bearing grease on the axle.
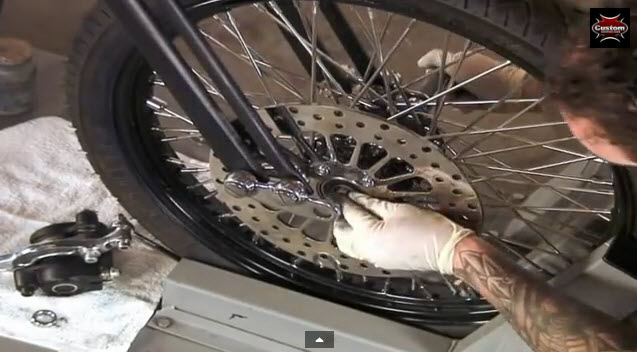
So when that has a good coating, I'm going to take our spacer, line it up on this side, and run our axle through...
Then we can start setting up our spacers, on this side a spacer (see above), then we have our brake caliper. Put the disc in between the pads here. Lucky shot.
And our last spacer here. Now you want to make sure all the spacers move freely as far as the thrust spacers for this style of caliber.
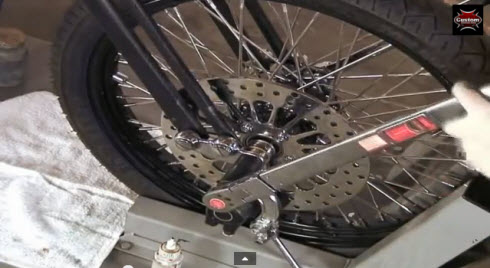
Then what I'm going to do is put some blue or red lock tight on threads, on our axle nut, and I'm going to go ahead and torque our front axle to 60 foot pounds.
All right, with that torqued, you still should be able to move the brake back and forth. Now we can fasten our brake. Now I'm going to go ahead and mount the brake hardware.
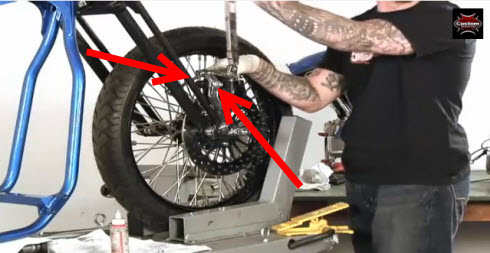
So first up: I'm going to use a little bit of lock-tight on this heim joint fastener that mounts to the springer frontend. I'm just going to install that. Then I'll go ahead and mount that heim joint to the brake caliper mount. I'm also going to put a little but of blue lock tight on that mount. Run that through.
Go ahead and tighten this up here. Then what I'm going to do, once I get this all snugged up, I'm going to torque it to 30 foot pounds and then I'm going to go ahead and torque the rest of this hardware, which means these two caliper mounting bolts and this guy back here to 30 foot pounds. And we should be all set for mounting up our front caliper.
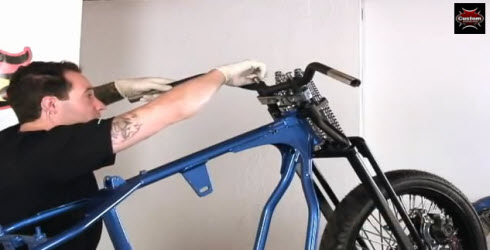
With our frontend all assembled now, I'm going to go ahead and just loosely mount up our handlebars, and that'll kind of give us an idea of where they're going to sit when we're installing other parts.
Keep in mine we're going to keep our frontend bolted up together but we're not going to finally adjust it until the bike is finished or completely assembled so we can do our neck bearing adjustments. So our pinch bolts here are going to be loose, our neck bearing adjustment's not going to be 100% on because we haven't checked it yet. I want to have the bike all the way together before we do that.
Okay, our handlebars are all snug now, so what I'm going to do is make sure the front wheel is tight in that vice, strap the front end down, and then we can go ahead and get the bike up off the rack.
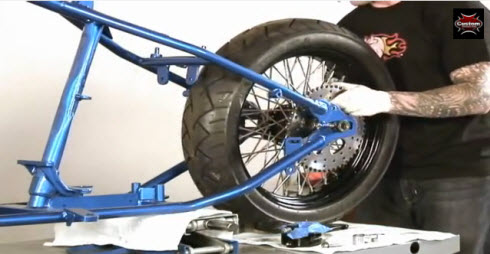
With the front end all set up and the front end off the ground, now we can put in the back wheel and make this into a roller. So I'll go ahead and take our rear wheel, set it up in the frame. You can see I set up one of these spacers in the back, and I also put both axle adjustors in place.
And I'm going to set up our axle spacers on this side and run our axle through. And just like the front axle, on the back you're going to want to put some anti-seize on it pretty liberally so you're not going to run into any problems later on down the road with disassembly when you have to change your tire.
I'll put my axle spacers in place on this side (left), and now we'll do this side (right).
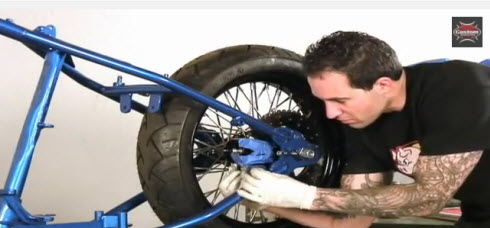
I'm going to mount my rear brake caliper because this one mounts through the axle. Make sure you get the brake pads on either side of the rotor.
Now you may need to check your clearances. On this frame, I actually got rid of a little bit of the paint where the axle slides through because it was a little thick and threw off my tolerances just enough to make it a problem.
Okay, want you played with it enough, get your axle through. Then I'm going to loosely mount this. We're still going to need to do our final adjustment when we get all of our drivetrain so you can set up the belt, or in this case, the chain.
So loosely set it on there. You don't need to torque anything yet. And then I'm also going to loosely install my brake caliper mounting hardware. That's all looking good and loosely in place. Now I can go ahead and take it off of the jack.
