Harley Davidson Chaincase Maintenance Tips:
There is a Harley Davidson chaincase maintenance VIDEO bellow (Chaincase adjustment), but we wanted to let you know something important.
Although this Sportster maintenance video clips includes chaincase maintenance tips we suggest getting the full length DVD for your Harley Davidson Model.
The videos (DVD's) are comprehensive and you will save lots of money because the videos walk you through everything you need to know about maintaining your Harley, including chaincase maintenance.
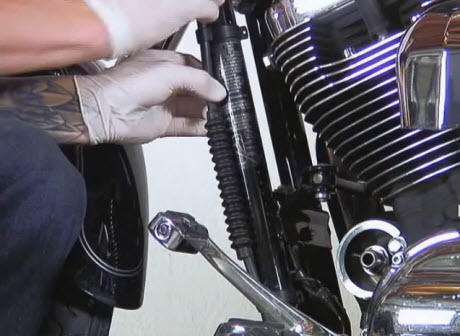
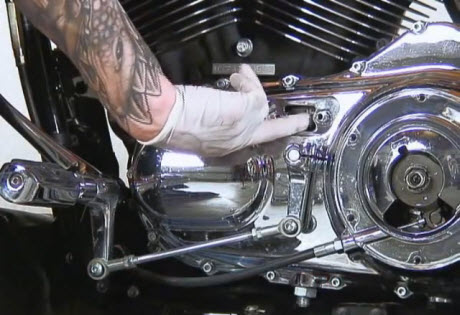
Now that our inspection covers are removed from the primary, I'm going to go ahead and collapse our clutch cable adjuster and we'll do that by removing this clamp just by pilling the clutch cable and it will come off:
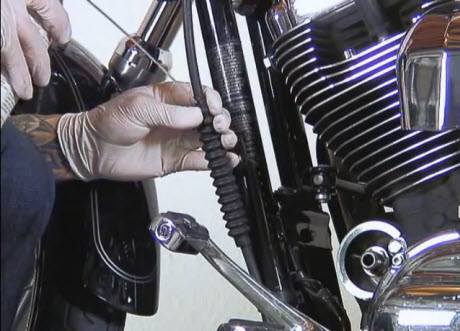
Then I'm going to shoot some lubricant into this boot and then pull it up, now that will give us access to the half inch and nine sixteenths nut:
The nine sixteenth is the locknut, half-inch. We just hold it in place and we'll break the nine sixteenth loose and we'll just twist both of these up until they're fully collapsed.
Alright, now with that adjuster is fully collapsed you can see I have plenty of free to play in my clutch lever, so from here we're going to go over the clutch itself and start adjusting it.
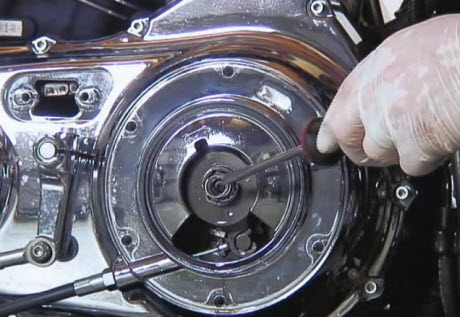
Now if you look at the clutch, which is right here, you're going to find our clutch adjuster and it's going to have a spring right here and the locking nut:
This actually locks the adjuster in place when the cover is on so it doesn't move back and forth. So I take a flathead screwdriver and back it out, if you go kind of clockwise it should lightly seats and when it lightly seats, that's it's starting point.
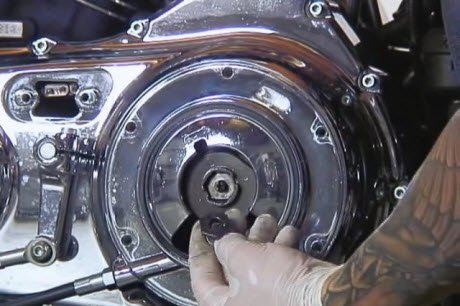
You want to turn it one quarter of a turn in and that's going to get the proper operating free play. So I'm going to return one-quarter of a turn and then I'm going to use the spline on this to match up with the adjuster and just to hold it in place.
And if you need a move it just a little bit you want to turn it towards the side that is more loose than the side that is tight. You want to go the clockwise direction to set it. And that is actually going to set our clutches adjustment. And once again you want to make sure you do this with the clutch cable fully collapsed.
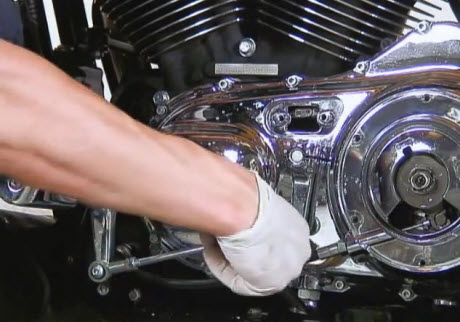
Now we're going to go ahead and adjust our primary chain. This is our site area for our primary chain. Now and I can move the primary up and down from here:
The specification is one half of an inch free play and this has about that but if we need to adjust it, we would take our 7/8 wrench and go ahead put it on the locknut and break this loose and then we can turn the adjuster with a quarter inch Allen:
And as we screw in, it will tighten up the adjustment or loosen it. All that is happening is you are moving a shoe up and down which is being pushed up on that primary chain.
So now that everything set correctly I'm going to go ahead and reinstall our drain plug and then start adding our fluid to our primary and transmission.
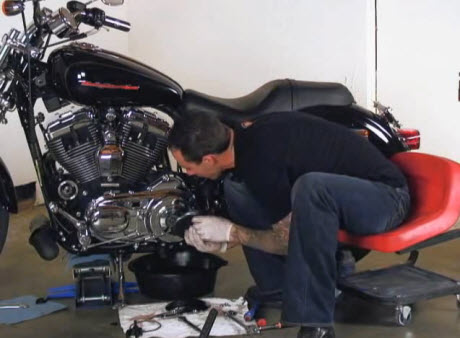
What we are going to do is install our O-ring onto our drain plug then use a little bit of either Teflon or gasket sealer and go ahead and install it back to its home. With the plug installed I'm going to go ahead and start installing our sport transmission fluid. We'll know when to quit when the fluid gets to the clutch diaphragm spring. It is the gray metal area around the clutch in the front here:
Once it starts to touch the base of that it will be at the level we want and that's when to stop.
Okay, with our two gaskets installed, I'm going to go ahead and start putting our covers on but before I do that I'm going to put a little bit of anti-seize on all the threads of the bolts here, its standard to see these guys get stripped out and so you want to get as little fresh on them as possible and the anti-seizer is a big help for that.
Once all the bolts are in place I'm go and start torquing them down. You going to want to go you know go in an altering pattern. So you go back and forth, back and forth. Do this in a way that does not warp the cover.
All of our maintenance videos cover adjusting the clutch and primary chain in the primary chain case, and much more:
Softail, DynaGlide, Evolution Fatboy Maintenance DVD -- Model Years: 1986 to Present
Sportster Maintenance DVD -- Model Years: 2004 to Present
Electra Glide Road King Maintenance DVD -- Model Years: 2000 to Present
Copyright Custom-Choppers-Guide.com All Rights Reserved.
