Spacer and Caliper Installation Video:
For the spacer and caliper installation video Press Play in the middle of the screen or the lower left corner...
The brake rotor is stalled on the rigid bobber frame springer front end.
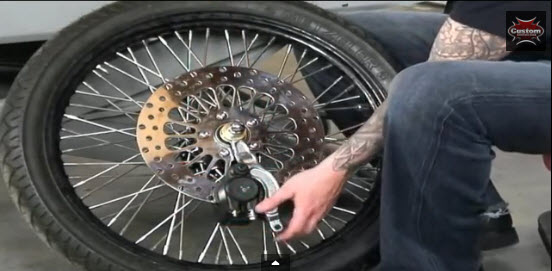
Now, we need a break to stop it. So the first thing I like to do before installing the wheel assembly is check the brake spacing, and that means basically checking the distance between the pads and the brake disk.
So what I'll do is install the caliper, put my spacers that I've chosen on the inside here, and run my axle through there. I can check my spacing off the bike where it's easy to change. So what we're looking for here is an equal distance between the brake pads and the brake disk.
You want to be sure it floats freely in there until you apply the brakes, which it does. Our spacing is correct on our brake and our brake disk.
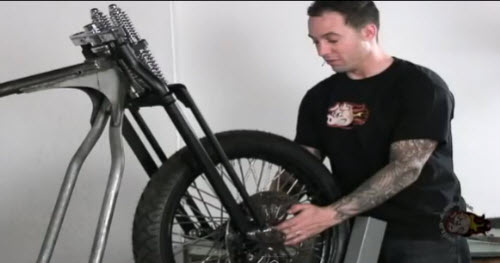
Now we can go ahead and check our spacing on the front axle in the springer front end. Now we can set up our axle spacing with the front wheel in between the 2 forks.
So I'm going to be setting up the spacers where my fingers are at right here...
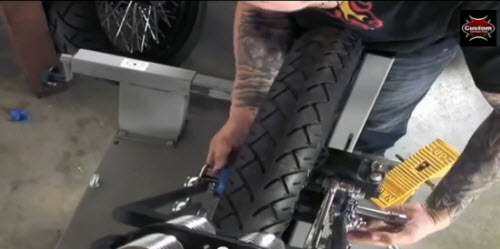
I've put some blue tape around the painted hub.That way it doesn't get damaged on this rocker. Just in case it hits it in installation. So I'm going to set up my front break. I put the heim joint on it which connects it to the front end just to hold it in place for now.
Then I'm going to put in our spacers that we've just checked. I'll put in the outer spacer. Getting these lined up when you're just one person is pretty difficult, but they'll come together eventually.
I'll take our other spacer and work it into place. And what you're going to want to look for here is making sure the front wheel is centered in the front end, and that's pretty much dead on. We're looking good, and we'll keep moving from here.
I have the front of the frame set up and supported so I'm going to go ahead and remove one of our lower supports. In this case it's going to be the cinder block that is supporting the frame. I'm going to remove the ratchet strap and then lower the jack and replace the cinder block.
I highly recommend locking down the front end onto the rack. You don't want your project taking a swan dive off the rack to make you feel like you need to throw up afterwards. Trust me. I've done it once before. It's a very bad feeling to watch your project take a nosedive.
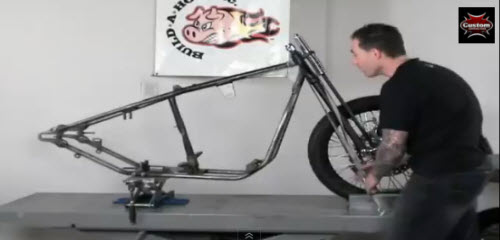
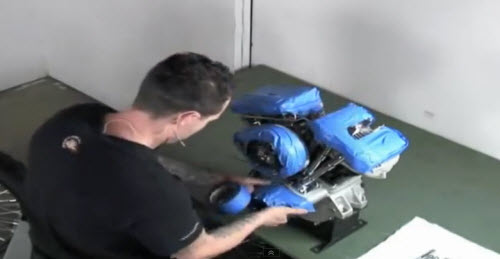
Okay, now with the bike fully supported, our next step is to install the engine into the frame for mockup. Before we install the engine, I like to put some blue tape on all of the chrome surfaces. That way, we don't accidentally scratch them during install.
So go ahead and be liberal with this stuff, anywhere you think you might rub against something or bump it while putting it into the frame, be sure to cover it. That way you don't scratch up any of your chrome. Especially if this is the engine you're going to be using for final assembly, which for most of us, it will be.
These engines are super heavy. So you're going to want to have somebody give you a hand putting it into the bike (usually).
The bike builder in the above video has a Masters rating from Harley Davidson University and is a Harley Davidson Lead Mechanic. Learn more about how to build a chopper: New 2-Disc DVD Called 'Build Your Own Bike' shows you how to build a custom chopper from the ground up. You can build a chopper, and you will increase your bike building and metalworking skills from the knowledge revealed only on this custom bike building DVD set.
